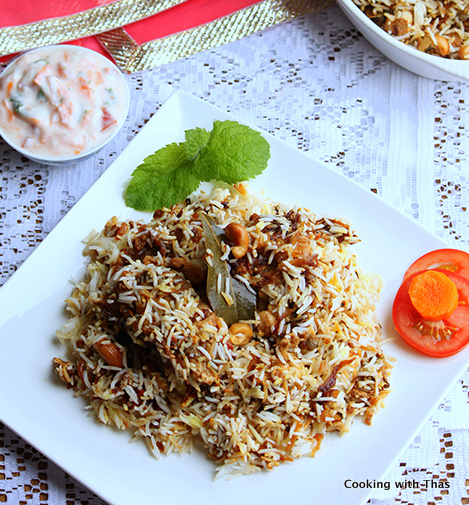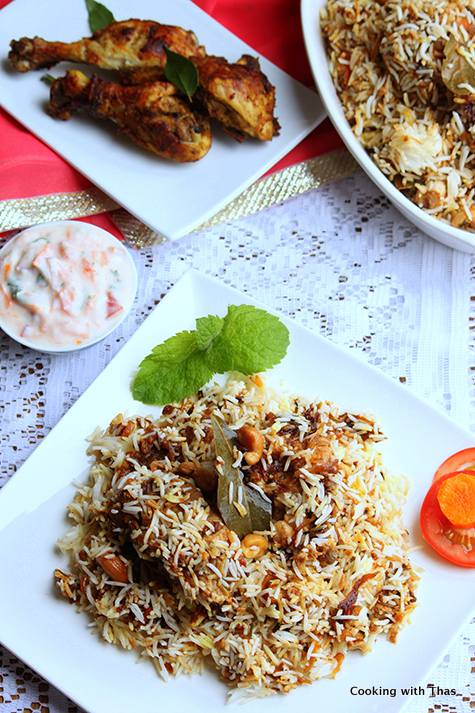
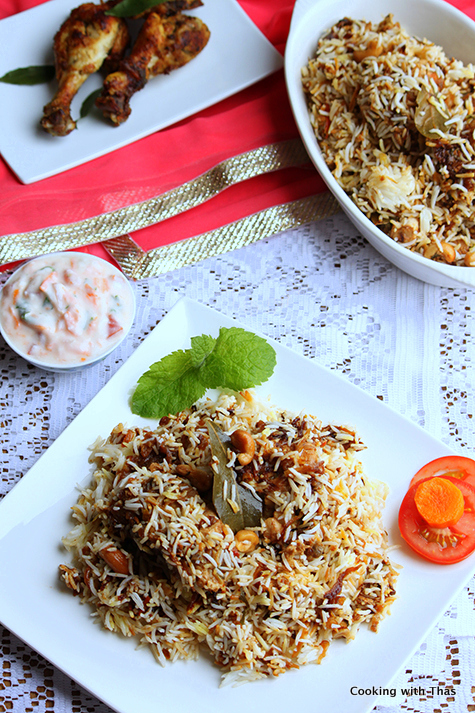
A Biryani that is dear to the people in Thalassery- a city in Kannur district…
Hope everyone who celebrated Eid had a wonderful celebration with friends and family. Honestly, I cannot think of an Eid without Biryani. A plate of biryani can bring so much happiness and celebration to me and to anyone who loves biryani.
Every Eid, I try to make a different kind of biryani. This Eid, I wanted to try one of the popular biryanis in Kerala- Thalassery biryani. Unfortunately, I haven’t tasted this biryani at any restaurants nor made by anyone from Thalassery. I came across the recipe for making this biryani in youtube, it’s an authentic recipe made in a restaurant in Thalassery.
There are three stages in making any biryani- making the meat masala, cooking the rice and Dum cooking. In this biryani, fried onions are used for making the meat masala. Yet another speciality is the rice used for making this biryani, Kaima rice or Jeerakasala rice is used, it’s a short grain rice that imparts an unique flavor and aroma and is widely used in Malabar region.
The fried onions gave so much flavor and taste to this biryani, I was truly blown away. This biryani will become dear to your taste buds too.
More Yummy Biryani Recipes, Click Here

Preparation pictures
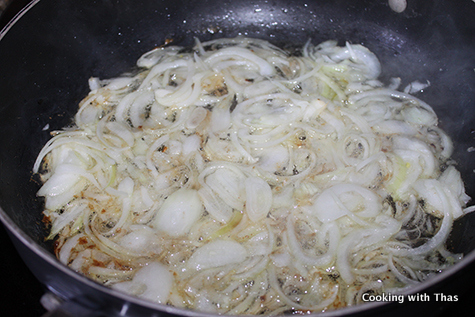
Frying onions
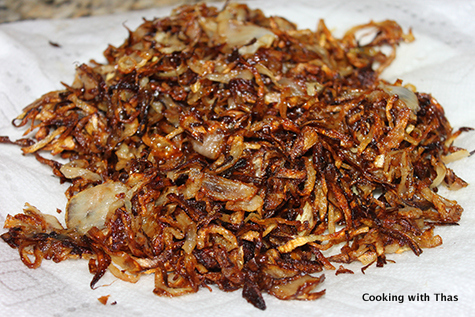
Fired onions
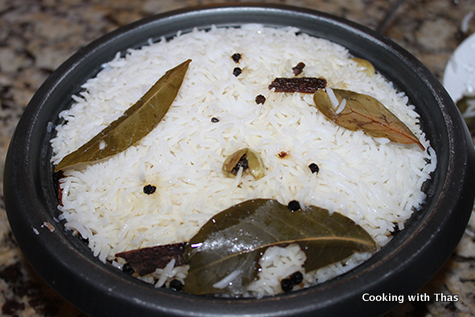
Cooked Basmati Rice
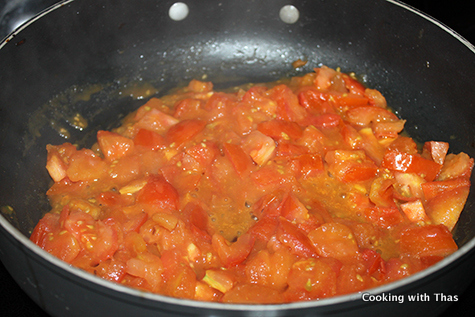
Cooking tomatoes
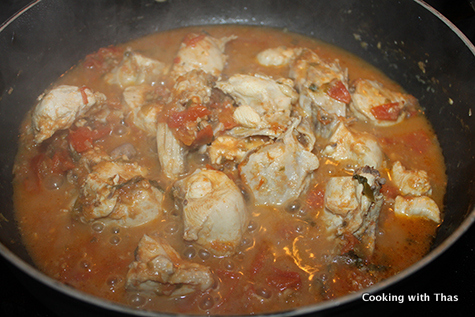
After adding chicken pieces
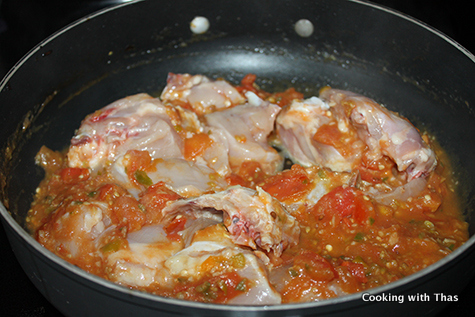
Cooking chicken
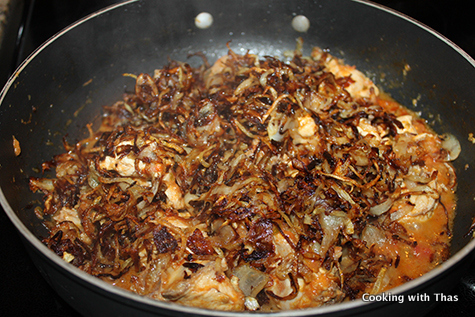
Adding fried onions to cooked chicken
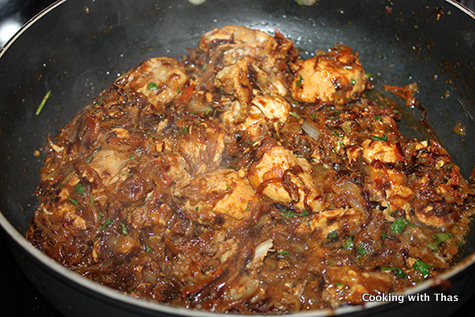
Fried onion chicken masala
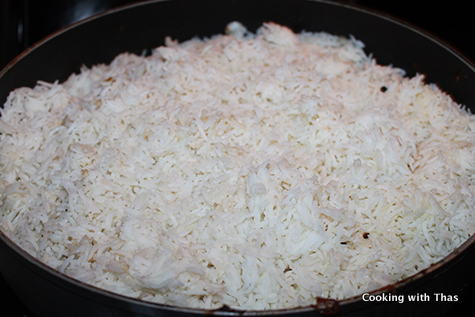
Spread cooked rice over the chicken masala
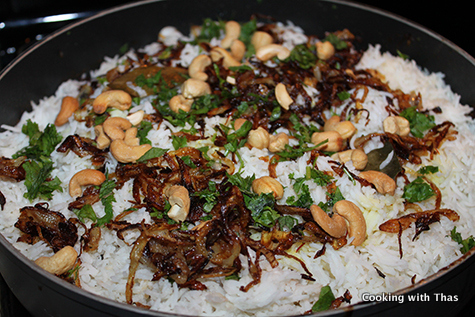
Topped with fried onions, saffron, mint, cilantro and cashew nuts
Cooking Video
- Onions, sliced evenly- thin and long- 7
- Oil- enough to fry onions (for more flavor, use half oil and half ghee)
- Cardamom whole- 4
- Cloves whole- 3
- Cinnamon whole- 3 inch slice
- Ground Nutmeg- ¼ tsp
- Fennel powder- 2 tsp
- Cumin powder- ¼ tsp
- Ginger, chopped- 3 inch
- Garlic, chopped- 4 large cloves
- Green chilies- 6 to 8 (based on your spice level)
- Tomatoes, chopped- 7
- Chicken, bone-in- 10 pieces
- Mint leaves, chopped- 10 leaves
- Cilantro, chopped- ¼ cup
- Lemon juice- 2 tbsp
- Salt- 1½ tsp
- Kaima Rice or Jeerakasala rice- 2½ cups ( or use Basmati rice)
- Whole cardamom- 2
- Whole cloves- 2
- Whole cinnamon- 2 inch slice
- Bay leaves- 3
- Whole black peppercorns- 1 tsp
- Ghee- 2 tbsp
- Salt- 1½ tsp
- Water- 3 cups (to cook in rice cooker) & 4½ cups on stovetop
- Cashew nuts, roasted- ½ cup
- Cilantro, chopped- 2 handfuls
- Fresh Mint leaves, chopped- 5 leaves
- Saffron- 2 pinches soaked in ¼ cup milk
- Slice the onions thin & evenly, or use a food processor and use the slicer blade to slice the onions.
- Place a frying pan over medium heat, add oil or use half oil and half ghee, fry the onions in 5 batches till they turn golden brown in color. Transfer the fried onions to a kitchen paper towel and let it absorb the excess oil.
- Keep aside the fried onions.
- In a blender or spice grinder, grind the ingredients mentioned above for making the spice mix to a fine powder and keep it aside.
- In a blender or food processor, grind the ginger, garlic and green chilies, keep aside.
- For making this biryani, Kaima rice or jeerakasala rice has to be used. If not use Basmati rice.
- Soak the rice in water for 15 minutes. After that, add the rice into a strainer & rinse under running water.
- Place a large saucepan over medium heat.
- For stovetop cooking in a saucepan for 2½ cups rice, 4½ cups water is required.
- Add the water, whole spices, salt & ghee to the saucepan.
- Let water come to a slight boil.
- Add the soaked & rinsed rice to the water.
- Cook covered for 15 minutes till rice has almost cooked & the water has dired off.
- Do not over cook the rice.
- In the rice cooker, don't need to add too much water. For 2½ cups rice, 3½ cups water should be enough.
- After the rice has cooked well, remove the pan from the heat and Keep the rice covered
- Place a large pan or wok over medium heat, add the chopped tomatoes, let cook and turn slightly mashed up around 10 minutes.
- Add the ground ginger, garlic and green chilies, combine well and cook for 10 minutes till the raw smell goes away.
- Add the mint leaves, combine well.
- Add chicken pieces, season with salt and the prepared spice mix.
- Combine well.
- Cook covered for 15 minutes.
- After the chicken has almost cooked.
- Add ¾ th of the fried onions to the chicken (keep aside the remaining fried onions- will be using for topping the biryani).
- Combine well and cook covered for another 10 to 15 minutes so that the flavor of fried onions gets into the cooked chicken.
- Let the chicken cook well.
- If the masala is getting dried, you can add 2 to 3 tbsp water and cook.
- At this point, the masala will have a nice caramelized color & will turn aromatic.
- Add chopped cilantro and lemon juice. Combine well.
- Cook for 5 more minutes.
- Make sure the chicken masala is not watery. Taste and add more salt if needed.
- In a bowl, soak the saffron in ¼ cup milk and keep aside for 5 minutes.
- Evenly spread the chicken masala as the bottom layer on a large wide pan.
- Spread the cooked rice over the chicken masala.
- Drizzle the saffron milk over the rice.
- Spread the remaining fried onions, chopped mint, chopped cilantro and cashew nuts over the rice.
- Cover tightly with aluminum foil and place a lid or round pizza pan over the pan.
- Place the pan over very low heat and dum cook for 10 minutes.
- You could also dum cook in the oven- preheat the oven to the lowest oven temperature, layer the chicken masala and rice and other ingredients in a deep dish, cover with aluminum foil and place it on the lower rack and cook for 10 minutes.
- After 10 minutes of dum cooking, remove the pan from the heat or oven.
- Let rest for a few minutes.
- Serve the biryani along with raita, pickle or pappad.
- Biryani tastes better the next day. You could cook this the previous night and keep in the refrigerator. Microwave or steam cook before serving.
- Enjoy this incredibly delicious & flavorful chicken dum biryani
Garam masala can be made ahead of time- the previous day & store in an air tight container.
Ground the ginger/garlic/green chilies the previous day & store in the refrigerator.
This way, it will be much easier to make this biryani.
