Winter is here, and it’s time to get your Tesla Model Y ready for the cold season! In this guide, I’ll walk you through the process of changing your Tesla’s winter tires at home, saving you time and money. With the right tools and a little know-how, you can have your Tesla winter-ready in no time. Let’s dive in!
Why Change to Winter Tires?
Winter tires are designed to provide better traction, handling, and safety in cold, snowy, or icy conditions. For a Tesla Model Y, equipping winter tires ensures optimal performance and safety during harsh winter weather. Doing it yourself is not only cost-effective but also empowers you to maintain your vehicle with confidence.
Essential Tools for Changing Tesla Model Y Tires
Before you start, gather the following tools to make the tire-changing process smooth and efficient:
-
Floor Jack: A reliable jack to lift your Tesla safely. LINK TO BUY
-
Jack Pad: Protects your Tesla’s battery and frame during lifting. LINK TO BUY
-
Breaker Bar (1/2”): Helps loosen lug nuts with ease. LINK TO BUY
-
Torque Wrench (1/2”): Ensures lug nuts are tightened to the correct specification. LINK TO BUY
-
Cordless Impact Wrench (1/2”): Speeds up the removal and installation of lug nuts. LINK TO BUY
-
Lug Nut Socket (21mm, 1/2”): Quantity of 3 for Tesla’s lug nuts. LINK TO BUY
-
Socket Adapter: Necessary if using a drill or impact driver. LINK TO BUY
-
Portable Tire Inflator: To check and adjust tire pressure after installation. LINK TO BUY
-
Wheel Chocks: Ensures your vehicle stays secure while lifted. LINK TO BUY
Having these tools on hand will make the process quick and safe.
Step-by-Step Guide to Changing Tesla Model Y Tires
Follow these steps to swap your Tesla Model Y’s tires for winter:
-
Prepare Your Workspace
-
Park your Tesla on a flat, stable surface.
-
Engage the parking brake and place wheel chocks behind the wheels that will remain on the ground to prevent rolling.
-
Gather all your tools and winter tires.
-
-
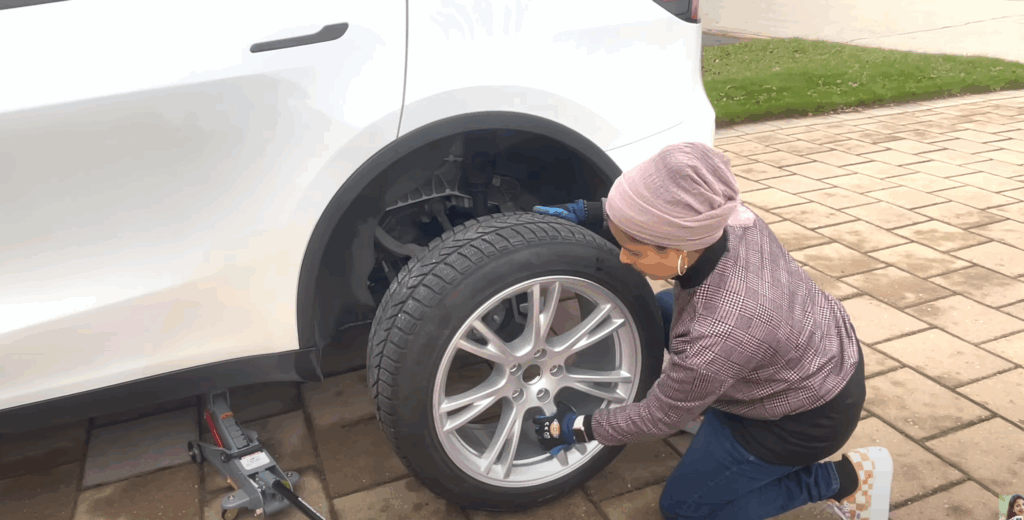
Loosen Lug Nuts
-
Use the breaker bar and 21mm lug nut socket to loosen the lug nuts on the wheel you’re starting with. Do this while the car is still on the ground, but don’t remove the nuts completely yet.
-
-
Lift the Vehicle
-
Position the jack pad under the designated jacking point near the wheel you’re changing (refer to your Tesla Model Y manual for exact locations).
-
Use the floor jack to lift the vehicle until the wheel is off the ground. Ensure the car is stable before proceeding.
-
-
Remove the Wheel
-
Finish unscrewing the lug nuts using the cordless impact wrench or breaker bar.
-
Carefully remove the wheel and set it aside.
-
-
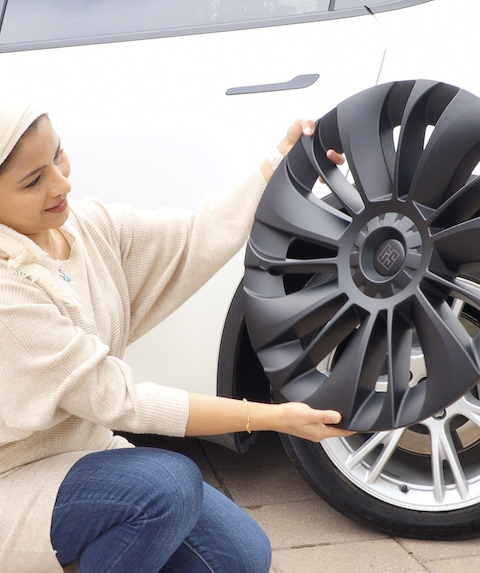
Install the Winter Tire
-
Place the winter tire onto the wheel studs and align it properly.
-
Hand-tighten the lug nuts to secure the wheel in place.
-
-
Lower the Vehicle
-
Carefully lower the car using the floor jack until the wheel touches the ground.
-
Remove the jack and jack pad.
-
-
Tighten Lug Nuts
-
Use the torque wrench to tighten the lug nuts to Tesla’s recommended torque specification (typically 129 lb-ft for the Model Y, but check your manual to confirm).
-
Tighten in a star pattern to ensure even pressure.
-
-
Check Tire Pressure
-
Use the portable tire inflator to check and adjust the tire pressure to Tesla’s recommended PSI (usually 42 PSI for the Model Y, but verify in your manual or door jamb sticker).
-
-
Repeat for All Wheels
-
Repeat the process for the remaining three wheels, working one at a time to ensure safety and stability.
-
-
Final Inspection
-
Double-check that all lug nuts are properly torqued and that the tires are inflated to the correct pressure.
-
Store your summer or all-season tires in a cool, dry place to preserve them for the next season.
-
Tips for Success
-
Safety First: Always use wheel chocks and ensure the car is stable when lifted.
-
Torque Matters: Over- or under-tightening lug nuts can damage your wheels or compromise safety. Always use a torque wrench.
-
Tire Storage: Store your off-season tires flat or hanging to prevent deformation.
-
Check Your Tires: Inspect your winter tires for wear or damage before installing them.
Conclusion
Changing the winter tires on your Tesla Model Y at home is a straightforward DIY project that can save you money and keep your vehicle ready for winter driving. With the right tools and this step-by-step guide, you’ll be cruising confidently through snow and ice in no time.
For a visual guide, check out this YouTube video for a detailed walkthrough of the process. Stay safe and enjoy the winter vibes with your Tesla!
Tags: #Tesla #TeslaModelY #WinterTires #DIY #TeslaWinterPrep #CarMaintenance